
A backyard only earns its keep when it matches the way your household actually spends time outside, not the version you see in a magazine spread. Before picking materials or furniture, it helps to think through your daily habits, entertaining style, and long-term goals for the space. This kind of planning prevents the common mistake of building a beautiful area nobody uses. Below is a practical, step-by-step way to design a layout that works for real life, not just for photos.
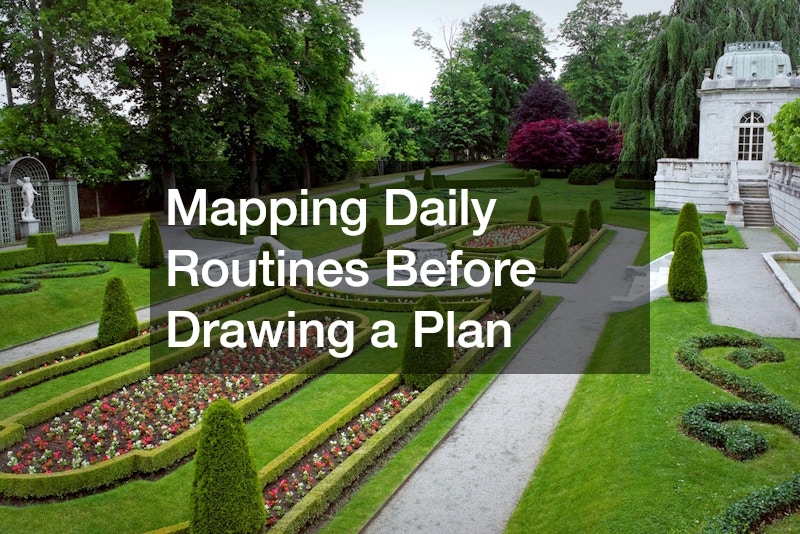
Mapping Daily Routines Before Drawing a Plan
Start by tracking how your family actually uses the outdoor space right now, even if that use is minimal. Notice where people gather for morning coffee, where kids naturally play, and which corners get ignored because they’re too hot, too shaded, or too far from the door. This observation period, even just a week or two, reveals patterns that should drive every later decision about zones and pathways.
Once you understand traffic flow, sketch a rough bubble diagram showing activity zones instead of jumping straight to furniture shopping. This keeps the layout grounded in function rather than aesthetics alone, which is where many backyard projects go wrong.
- Note which areas get morning sun versus afternoon shade
- Track how often the grill, dining area, or lounge space actually gets used
- Identify dead zones that could be repurposed for storage or planting
- Watch how pets and kids move through the yard naturally
Defining Zones for Cooking, Dining, and Lounging
A workable backyard usually separates into distinct zones rather than one open, undefined slab of space. Cooking areas benefit from being close to the kitchen door for easy trips back and forth, while dining and lounging zones can sit farther out to create a sense of destination. Thinking in terms of outdoor living rather than a single patio helps you plan multiple purposeful areas that connect logically.
Consider sightlines and privacy when placing each zone, since a lounge area facing a neighbor’s window rarely gets used for relaxing. Grouping zones by noise level also matters, keeping a lively dining space separate from a quiet reading nook.
- Place cooking zones within a few steps of the kitchen
- Keep lounging areas slightly secluded for privacy
- Separate loud, social spaces from quiet retreat spaces
- Use low walls, planters, or changes in material to signal a shift between zones

Choosing Hardscape Materials That Match Your Climate
The ground plane you choose sets the tone and function for everything built on top of it, so this decision deserves real research rather than a quick pick from a showroom. A well-installed concrete patio remains one of the most budget-friendly and durable options, especially when finished with texture or color to avoid a plain gray slab look. It handles temperature swings reasonably well and provides a stable base for furniture, grills, and fire features alike.
For those wanting a more textured, upscale look, brick paver installation offers flexibility in pattern and color while allowing individual units to be replaced if damaged, unlike a poured slab. Pavers also handle ground movement and freeze-thaw cycles better in many climates because the joints allow for slight shifting. Whichever material you choose, make sure it’s rated for your regional weather and matches the overall style of your home’s exterior.
- Ask about slip resistance for pool decks and shower areas
- Compare long-term maintenance costs, not just installation price
- Consider heat absorption if you live somewhere with intense summer sun
- Match material tone to your home’s siding or brick for visual continuity
Adding a Custom Swimming Pool Without Overwhelming the Yard
A pool can be the centerpiece of a backyard, but only if its size and shape respect the rest of the available space. Working with a designer on a custom swimming pool allows you to fit the water feature to your actual lot rather than forcing a generic rectangle into an awkward footprint. Smaller plunge pools, sun ledges, or L-shaped designs often work better on modest lots than a full-sized traditional pool.
Think about how the pool area connects to the rest of the yard, including shade structures, seating, and pathways leading back to the house. Leaving enough deck space around the water is just as important as the pool itself, since cramped decking makes lounging and foot traffic uncomfortable.
- Choose a shape that complements your yard’s natural proportions
- Leave at least four feet of usable deck space around the perimeter
- Plan for shade with pergolas, umbrellas, or nearby trees
- Factor in fencing or safety barriers required by local code
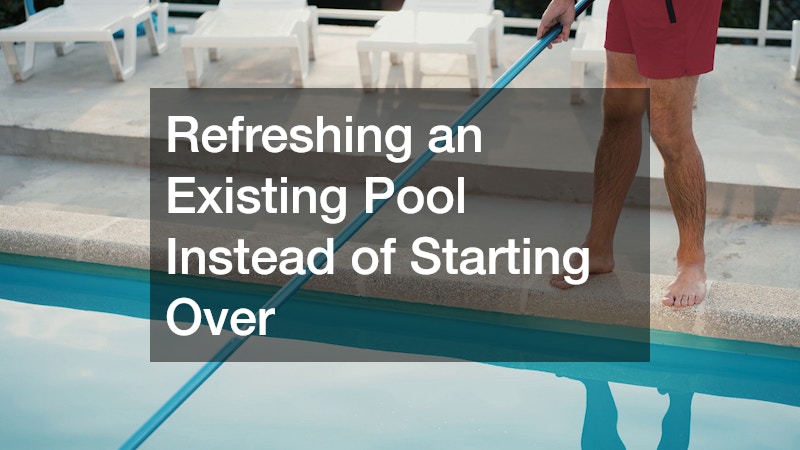
Refreshing an Existing Pool Instead of Starting Over
If your yard already has a pool but the layout feels outdated or the surface is worn, a full rebuild isn’t always necessary. A reputable pool remodeling company can update tile, resurface plaster, modernize the coping, or reshape steps and entry points without tearing out the entire structure. This route often costs significantly less than new construction while giving the space a completely refreshed feel.
Remodeling also opens the door to adding features that weren’t originally included, like tanning ledges, updated lighting, or energy-efficient pumps. It’s worth getting a professional assessment before deciding between a cosmetic refresh and a structural overhaul, since some issues are only visible once the surface is opened up.
- Ask for a written scope before assuming a small crack needs full demolition
- Consider updated filtration and lighting during any remodel
- Compare energy costs of older equipment versus newer models
- Time the project for off-season months when possible
Bringing in Warmth With Fire Features
Extending backyard use into cooler months often comes down to adding a heat source that people can gather around comfortably. Well-placed outdoor fireplaces create a natural focal point for seating areas and give a backyard a sense of permanence that portable fire pits don’t quite match. They also provide ambient light in the evening, reducing the need for extra electrical fixtures nearby.
Position any fire feature away from overhanging branches, fences, and high-traffic walkways to keep the area safe and comfortable. Pairing it with built-in seating or a low retaining wall gives guests a natural place to sit without hauling out extra furniture every time.
- Check local codes on clearance distances and permitted fuel types
- Consider gas over wood if you want lower maintenance
- Add wind-blocking elements nearby for better performance
- Use materials that match the surrounding hardscape for a cohesive look
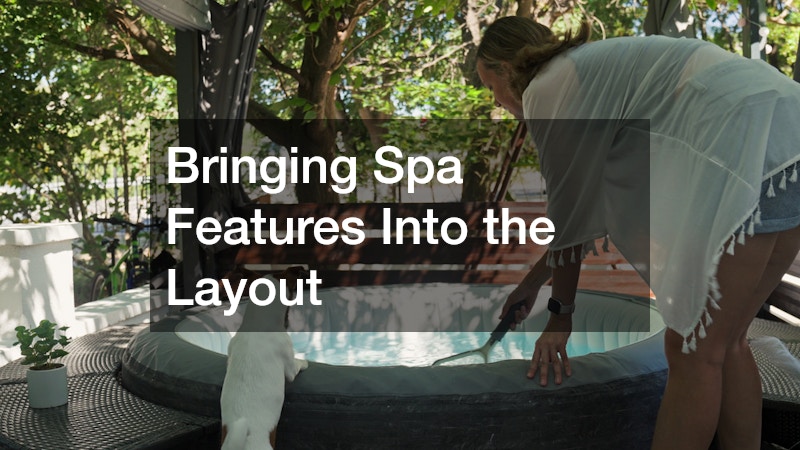
Bringing Spa Features Into the Layout
For many households, a hot tub or spa adds as much daily value as a full pool, especially for relaxing after work or soothing sore muscles. Consulting with spa companies early in the design process helps determine whether a standalone unit or an in-ground spa integrated with the pool makes more sense for your space and budget. Placement near a private corner of the yard, away from main sightlines, tends to get more consistent use than a spa stuck in the middle of an open patio.
Utility hookups, decking material, and proximity to the house all affect how enjoyable a spa actually is day to day. A spa positioned too far from the house often gets used less in cold weather simply because the walk there feels inconvenient.
- Decide between a standalone spa and one integrated with the pool
- Plan electrical and plumbing access before finalizing placement
- Choose non-slip decking around the spa for safety
- Consider a cover or enclosure to reduce heat loss and debris
Planning an Outdoor Shower for Convenience
A rinse station near the pool, garden, or side entrance keeps sand, chlorine, and dirt from tracking through the house, which matters more than most homeowners expect until they live without one. Outdoor shower installation is a relatively small addition compared to a full pool or patio project, but it noticeably improves daily convenience for active households. Placing it near existing plumbing lines keeps installation costs reasonable and avoids long trenching runs across the yard.
Privacy screening, whether through fencing, lattice, or planting, makes an outdoor shower far more practical for everyday use rather than an occasional novelty. A simple hot and cold mixing valve adds comfort, especially in regions with cold winters or chilly mornings.
- Position near existing water lines to reduce plumbing costs
- Add privacy screening with fencing or dense shrubs
- Include a small shelf or hook for towels and soap
- Consider a drainage plan so runoff doesn’t pool near the foundation
Building Structures That Extend Usable Space
Covered areas stretch the number of days a backyard feels usable, protecting furniture and people from sun, rain, and wind. A shaded patio can drop the surrounding temperature by several degrees on a hot afternoon, while a solid roof keeps cushions and electronics safe during a sudden downpour. These outdoor structures effectively add square footage to your living space without the cost or permitting hassle of a home addition.
Pergolas, covered patios, and freestanding pavilions all count as outdoor structures that add architectural interest while creating defined zones without full walls. Pergolas work well for spaces that need partial shade and a sense of enclosure, especially when paired with climbing vines or retractable canopies for adjustable coverage. A covered patio attached to the house suits everyday use like morning coffee or dinner, while a freestanding pavilion set further back can anchor a separate entertaining zone, complete with its own lighting, fans, or an outdoor kitchen.
These additions work especially well when placed to frame a view or bridge the gap between the house and a pool or garden area. Positioning a pergola along the sightline from your kitchen window, for instance, can turn a plain yard into a layered scene rather than a flat expanse of lawn. When planning placement, consider the sun’s path throughout the day, prevailing wind direction, and how the structure will look from inside the house before finalizing size and orientation.
Before building anything permanent, check local permitting requirements, since even a simple roofed structure can require setbacks or inspections depending on size and proximity to property lines. Many municipalities allow small detached structures under 120 square feet without a permit, but attaching a roof to your house, running electrical, or adding plumbing almost always triggers a review, so it’s worth a call to your local building department before drawing up plans.
Structures like pergolas, covered patios, and freestanding pavilions each come with different cost and complexity tradeoffs. A basic pergola can extend outdoor living space for a few thousand dollars, while a fully roofed and wired pavilion with a ceiling fan and outlets pushes into a much bigger investment. Think about how the space will actually be used — dining, lounging, an outdoor kitchen — since that determines whether you need electrical capacity, drainage planning, or a solid foundation versus a simple paver base.
Matching rooflines and materials to the main house keeps the whole property feeling like one cohesive design rather than a patchwork of unrelated additions. Pulling the same roof pitch, trim color, or siding material into a new structure signals that it was planned rather than bolted on as an afterthought. Even small details, like matching gutter style or using the same brick or stone veneer on a support post, help a new addition read as original to the home rather than a later add-on.
- Check permit and setback requirements before construction begins — many municipalities require permits for structures over 100-200 square feet or anything with a permanent roof
- Match roofing material and pitch to the main house for visual consistency, not just color
- Choose a structure size proportional to your yard — an oversized pergola can overwhelm a small lot, while an undersized one won’t shelter real furniture groupings
- Consider retractable louvers or shades for adjustable sun control throughout the day
- Add ceiling fans or misting systems in covered structures to extend comfortable use into hotter months
- Plan electrical runs for fans, lighting, or outlets during construction, not after, since trenching later means tearing up finished hardscape
- Route wiring underground in conduit and mark utility locations on a simple site map for future reference
- Factor in drainage and footing depth so the structure doesn’t shift or pool water after heavy rain
Keeping Equipment and Supplies Organized
Even the best-designed backyard falls apart functionally if there’s nowhere to store cushions, pool equipment, gardening tools, and seasonal items. Built-in benches, sheds, or cabinetry dedicated to outdoor storage keep the space looking tidy and extend the life of items that would otherwise sit exposed to weather. Planning storage early, rather than adding it as an afterthought, means it can be tucked into the layout without disrupting sightlines or usable square footage.
Waterproof or weather-resistant materials matter here just as much as they do for furniture, since cheap storage boxes tend to crack or fade within a season or two. Locating storage near the zones where items get used most, like pool toys near the pool or grilling tools near the kitchen zone, cuts down on unnecessary trips across the yard.
- Choose weather-resistant materials rated for your climate
- Place storage near the zone where items are used most
- Consider built-in benches that double as storage
- Keep pathways clear of clutter by assigning a home for every item
A backyard that truly fits your life comes from thoughtful sequencing, not from copying a template that worked for someone else’s family. Start with how you actually move through the space, then layer in hardscape, water features, comfort additions, and storage in a way that supports those real habits. Taking the time to plan zone by zone leads to a yard that gets used year-round instead of one that looks nice but sits empty. With a clear layout in mind, you’re ready to start requesting quotes and timelines from qualified professionals for each piece of the project.