
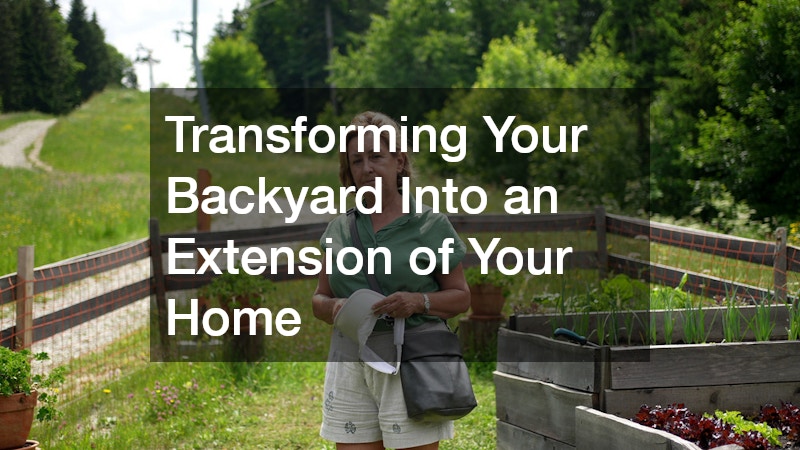
Your backyard has the potential to become so much more than a patch of grass behind your house. With the right improvements, it can function as a true extension of your living space, offering room to relax, entertain, and unwind without ever leaving home. Many homeowners feel overwhelmed by where to start, unsure which upgrades actually add value versus which are just trendy expenses. This guide walks through the key elements to consider so you can build an outdoor space that fits your lifestyle and budget.
Start With a Clear Vision for Your Outdoor Space
Before hiring anyone or buying materials, take time to think through how you actually want to use your backyard. Some homeowners want a quiet reading nook, while others dream of hosting large gatherings with a full outdoor kitchen and seating area. Walk your property at different times of day to notice sun exposure, shade patterns, and drainage issues that could affect your plans. Sketching a rough layout, even a simple one, helps you visualize traffic flow and avoid costly redesigns later.
- Identify your top three priorities, such as entertaining, relaxing, or gardening
- Note existing utility lines, septic fields, or easements that limit construction
- Consider how the space will be used across different seasons
- Think about privacy needs from neighboring properties
Designing a Functional Patio Layout
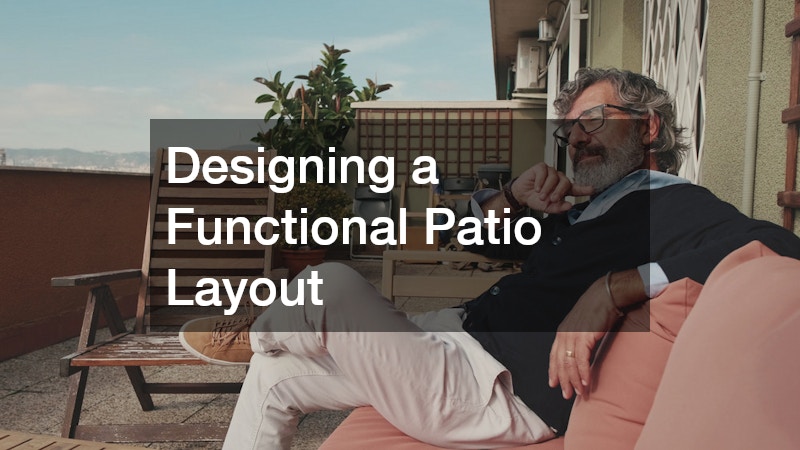
A well-designed patio often serves as the anchor of any backyard transformation, giving you a defined area for furniture, dining, and outdoor cooking. As a rule of thumb, plan for at least 25 square feet per person for a dining setup, or closer to 100 square feet if you want room for a grill, seating area, and walking space combined.
Patios can be built from a variety of materials, including concrete, natural stone, pavers, or brick, each offering different price points and maintenance needs. Concrete is typically the most budget-friendly option and can be stamped or stained to mimic pricier materials, while natural stone offers a high-end look but comes with a higher cost and occasional resealing. Pavers strike a middle ground, allowing for easy repairs since individual pieces can be replaced without redoing the whole surface, while brick delivers classic charm but may shift over time without proper base preparation.
The size and shape of your patio should reflect how many people you typically host and what activities you plan to do there, whether that is grilling, lounging, or entertaining guests. A simple rectangular layout works well for straightforward furniture arrangements, while an L-shaped or curved patio can help separate a dining zone from a lounge or fire pit area. It’s also worth considering traffic flow, leaving at least 3 feet of clearance around furniture so people can move comfortably without feeling boxed in.
Beyond material choice, think about the layout in relation to your home’s entry points and existing landscaping. A patio positioned too far from the kitchen can make outdoor dining inconvenient, while one placed without shade consideration may go unused during hot afternoons. As a rule of thumb, keeping the patio within 10 to 15 feet of a kitchen or dining door makes carrying food and drinks back and forth far less of a chore.
Traffic flow matters just as much as proximity. Leave at least 3 feet of clearance around furniture groupings and walkways so people can move comfortably without squeezing past chairs or grills, and consider how foot traffic from side yards or pool areas will intersect with your seating zones. Zoning the space into distinct areas — a dining section near the house, a lounge area further out, maybe a fire pit off to the side — helps a single patio serve multiple functions without feeling cluttered.
Sun exposure deserves its own planning pass. Track how sunlight moves across your yard throughout the day, since a spot that’s shaded in the morning can turn into an unusable heat trap by 3 p.m. Adding a pergola, umbrella, or retractable awning can extend usability throughout the day, and pairing these with ceiling fans or misting systems can make a real difference in climates with hot, humid summers.
- Choose slip-resistant materials, like textured concrete, natural stone, or matte-finish pavers, near pools or hot tubs
- Leave at least 3 feet of clearance for walking paths and room for furniture arrangement so traffic flows easily
- Consider a raised or multi-level design with retaining walls or steps for sloped yards, adding visual interest
- Match patio style and materials to your home’s architecture, like brick for colonial homes or clean concrete for modern designs, for a cohesive look
- Group seating, dining, and cooking zones separately to define distinct functional areas
- Factor in shade structures, like pergolas or umbrellas, to keep the space comfortable and usable in the mid-day sun
Adding a Deck for Elevated Outdoor Living
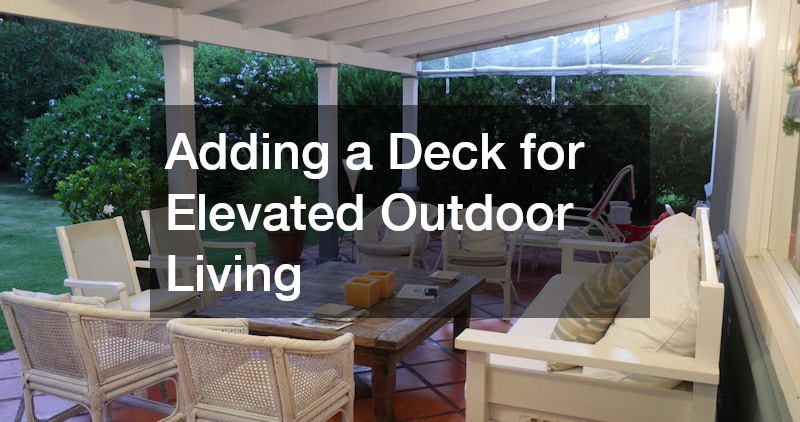
Decks offer a practical solution for backyards with uneven terrain, sloped lots, or homes where the ground level sits above the yard. Working with experienced deck contractors ensures your structure meets local building codes, handles proper drainage, and uses materials suited to your climate. Wood decking offers a classic look but requires regular staining and sealing, while composite materials resist rot and fading with far less upkeep.
The layout of your deck should complement how you plan to use the space, whether that means built-in seating, a dedicated grilling zone, or a simple platform for furniture. Railings, lighting, and stairs also deserve attention since they affect both safety and overall appearance. A thoughtfully built deck can increase your home’s resale value while giving you an immediate upgrade to your outdoor lifestyle.
- Ask about permit requirements before construction begins
- Choose fasteners and hardware rated for outdoor exposure
- Plan for adequate support if adding a hot tub or heavy furniture
- Consider multi-level designs to separate cooking and lounging areas
Caring for Trees and Existing Landscaping
Mature trees add shade, privacy, and character to a backyard, but they also require ongoing attention to stay healthy and safe. Overgrown branches near structures or power lines can pose risks during storms, making periodic inspection important. A professional tree service can assess the health of your trees, handle trimming safely, and identify issues like root rot or pest infestations before they become serious problems.
When redesigning your backyard, think carefully about which trees to keep, remove, or relocate based on your new layout. Trees positioned too close to a planned patio or deck can cause root interference or excessive leaf litter, while strategically placed trees can provide natural cooling for outdoor living areas. Balancing landscaping goals with structural safety keeps your yard both beautiful and functional for years to come.
- Schedule tree inspections at least once a year, especially before storm season
- Remove dead or diseased limbs promptly to avoid safety hazards
- Plant new trees away from foundations, patios, and underground utility lines
- Consider mature tree size when planning shade for outdoor seating areas
Creating Smooth Pathways and Driveways
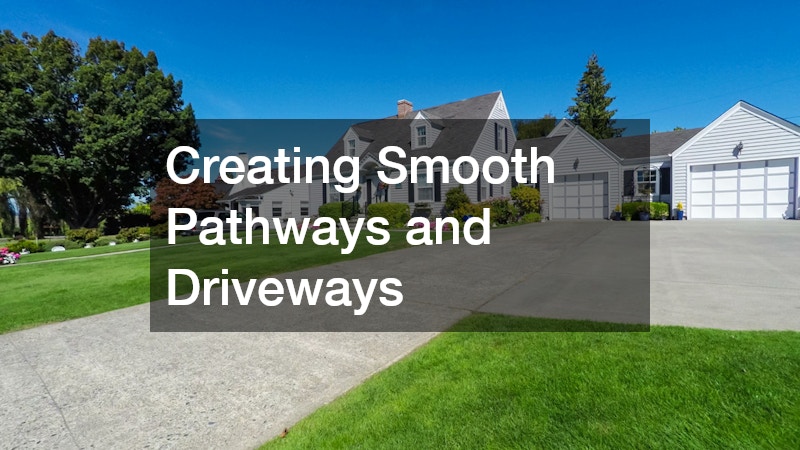
Pathways connect different zones of your backyard, guiding foot traffic between the house, patio, garden, and any additional structures like a shed or pool area. Without them, repeated foot traffic can wear ugly trails into your lawn within a single season. Working with a paving company allows you to explore options such as poured concrete, interlocking pavers, natural stone, or gravel, each offering a different balance of cost, durability, and style.
Beyond aesthetics, practical details matter: a main walkway should be at least 3 to 4 feet wide to comfortably fit two people side by side, while a driveway typically needs 10 to 12 feet per car. Proper drainage slopes, usually a 1 to 2 percent grade, keep water moving away from your foundation instead of pooling.
Well-planned paths also reduce soil erosion and prevent muddy tracks from being carried indoors, saving you cleaning headaches and protecting your landscaping investment for years to come.
If your backyard transformation includes a driveway extension or parking area for guests, proper grading and drainage become especially important to prevent water pooling. Most experts recommend a slope of about 1-2% away from your home or garage to keep water moving toward a drain or lawn area instead of collecting near the foundation. A professional can evaluate slope and soil conditions to recommend the right base materials for long-term durability, such as compacted gravel for clay-heavy soil or a permeable paver system in areas prone to heavy rain.
Material choice matters just as much as the base. Poured concrete offers a clean, low-maintenance surface, asphalt is budget-friendly and easy to patch, and interlocking pavers add curb appeal while allowing for easier spot repairs if a section settles unevenly.
Investing in quality paving now helps avoid cracking, shifting, or costly repairs down the road. Skimping on a proper sub-base, for instance, is one of the most common reasons driveways develop potholes or heave after just a few winters.
- Choose permeable pavers or gravel to reduce runoff and prevent puddling in rainy climates
- Add lighting along pathways—solar stake lights or low-voltage LEDs—for nighttime safety
- Match paving material and color to your patio for a unified, cohesive look
- Plan path width (minimum 36 inches) to accommodate wheelbarrows or outdoor furniture delivery
- Ensure driveways are at least 10-12 feet wide for comfortable single-car access
- Consider a slight slope (1-2%) away from your home to direct water runoff properly
- Use edging like brick or metal borders to keep gravel or loose materials contained
Protecting Outdoor Structures With the Right Roofing
If your backyard plans include a covered porch, gazebo, or outdoor kitchen structure, the roofing choice matters just as much as it does for your main house. These structures endure the same sun exposure, wind gusts, and heavy rain as your primary roof, sometimes with less protection from surrounding buildings or trees. Reputable roofing contractors can help you select materials that hold up under these conditions while matching your home’s existing style and color palette.
Asphalt shingle roofs remain a popular choice for backyard structures because they are affordable, easy to install, and available in colors that coordinate with your primary residence. A typical bundle costs between $30 and $50, making it a budget-friendly option for smaller structures like gazebos or pergola roofs. They also come in three-tab, architectural, and premium styles, so homeowners can match the same shingle profile used on their house for a cohesive look.
For structures closer to outdoor kitchens or fire pits, it’s worth discussing fire-resistant underlayment and proper ventilation with your contractor, since heat and grease can accelerate wear. Metal roofing is another option worth considering for flat or low-slope designs, as it sheds water efficiently and often lasts 40 to 70 years with minimal upkeep. Whichever material you choose, confirming it carries a warranty and meets local building codes will save headaches down the road.
Beyond material selection, proper ventilation and flashing installation prevent moisture buildup that can lead to rot or mold in covered outdoor spaces. Ridge vents or gable vents keep air circulating under the roof deck, while galvanized or aluminum flashing around joints, posts, and where the structure meets your house seals out wind-driven rain. Skipping these details is one of the most common reasons pergola and patio roofs fail within a few years.
Getting professional input during the planning stage helps you avoid mismatched materials or structural issues that surface years later. A contractor can confirm your roof’s slope handles local rainfall properly, typically a minimum pitch of 2:12 for metal panels or steeper for shingles, and that support posts are sized for snow or wind loads in your area. This upfront review also catches issues like improper attachment to existing fascia, which can void warranties or cause leaks at the house connection point.
A well-built roof over your outdoor living area extends its usability into rainier or hotter months, turning a seasonal patio into a space you can rely on year-round. Insulated or shaded roofing can also cut down on summer heat radiating into the space, making it more comfortable for entertaining or relaxing even in peak temperatures.
- Compare metal, shingle, and polycarbonate options for outdoor structures — metal panels last 40-70 years and shed snow easily, asphalt shingles blend seamlessly with most homes but need replacement every 20-30 years, and polycarbonate panels let in natural light for pergolas while blocking UV rays
- Ensure proper slope for water runoff away from seating areas, aiming for at least a 1/4-inch drop per foot to prevent pooling
- Add gutters or drip edges to direct runoff away from foundations, walkways, and outdoor furniture
- Match roofing color and texture to your home’s existing exterior, pulling samples from your main roof or siding to confirm the tone works in direct sunlight
- Ask about warranty coverage for materials and labor, checking whether it includes coverage for wind damage, fading, and leaks
- Confirm local building codes and permit requirements before installation, especially for attached structures that tie into your home’s roofline
Planning for Comfort With Outdoor Utilities
A backyard that truly functions as an extension of your home often needs some of the same comforts found indoors, including reliable hot water and climate control. If you are adding an outdoor shower, sink, or hot tub, it is worth checking whether your existing system can handle the extra demand. A standard 40- to 50-gallon water heater may struggle to keep up with an additional fixture on top of normal household use, so a professional load assessment can help you avoid running cold halfway through a shower.
In some cases, scheduling water heater repair or servicing before construction begins can reveal aging components, sediment buildup, or undersized capacity that would otherwise cause problems once the new fixtures are in use. If your unit is more than eight to ten years old, it may be more cost-effective to upgrade to a tankless or higher-capacity model rather than repair it repeatedly down the line.
Running new plumbing lines outdoors also requires careful planning to avoid freezing pipes in colder climates. This typically means burying lines below the local frost line, using insulated pipe sleeves, and installing shutoff valves so the system can be drained before winter. For homeowners in regions with harsh freezes, a self-draining or “winterized” outdoor plumbing setup can prevent costly cracked pipes and repairs each spring.
For covered patios, sunrooms, or outdoor living rooms, comfortable temperatures matter just as much as good design. Many homeowners now extend air conditioning services to enclosed or semi-enclosed outdoor spaces, allowing year-round use regardless of weather. A space that stays comfortable in both July heat and October chill gets used far more often than one that’s only pleasant a few weeks a year.
Ductless mini-split systems are a popular option for these areas since they do not require major renovations to install. Because they don’t rely on ductwork, they’re ideal for additions or converted patios where running new vents would be costly or impractical. Most units can heat and cool a 300 to 400 square foot space, making them well suited to a typical outdoor living room or sunroom.
When planning the installation, consider insulation quality, window placement, and whether the space is fully or partially enclosed, since all of these affect how much capacity you’ll actually need. It’s also worth asking your contractor about energy efficiency ratings (SEER2) and noise levels, particularly if the unit will sit near a seating or dining area.
- Check your water heater’s capacity before adding outdoor fixtures — an outdoor kitchen sink or shower can add 10-20 gallons of demand, so a 40-50 gallon tank may need upgrading to a 50-75 gallon unit or a tankless system
- Insulate exposed pipes in outdoor plumbing installations using foam sleeves or heat tape rated for your climate zone, especially on runs near sinks, showers, or hose bibs
- Bury supply lines below the local frost line and install shutoff valves so you can drain the system before winter
- Consider ductless mini-split systems for enclosed outdoor rooms, since they heat and cool without ductwork and can be sized to a single space like a 200-400 square foot sunroom
- Have an electrician confirm your outdoor circuits can handle added lighting, heaters, or appliances before installation to avoid overloaded panels
- Schedule regular maintenance twice a year to keep systems running efficiently, including checking for pipe leaks, cleaning mini-split filters, and testing GFCI outlets before peak seasons
Choosing Flooring That Bridges Indoor and Outdoor Spaces
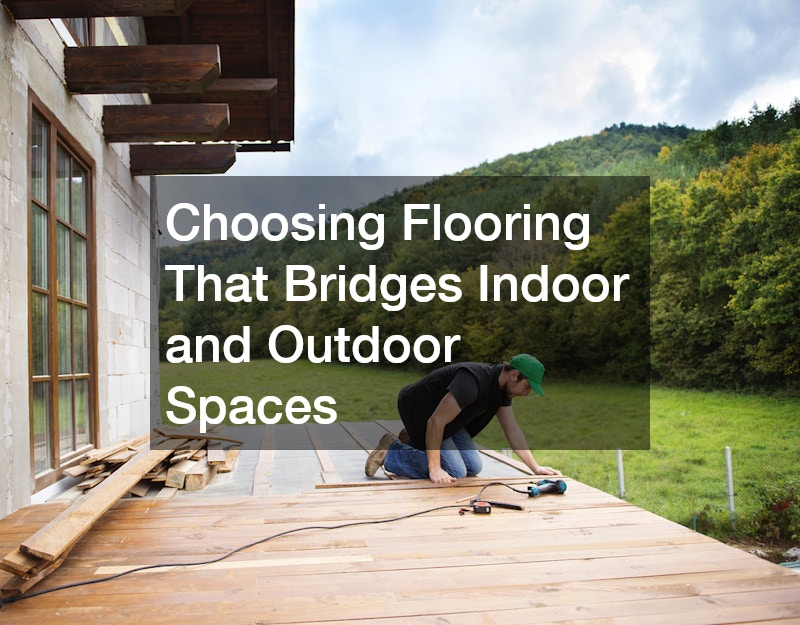
One of the most effective ways to make your backyard feel connected to your home is through consistent flooring choices, especially near sliding doors or covered patios. Some homeowners consult hardwood flooring companies to install engineered wood or wood-look tile in three-season rooms, creating a seamless transition from indoor living areas to covered outdoor spaces. These materials offer the warmth of traditional hardwood while standing up better to humidity and temperature swings.
When choosing flooring for transitional spaces, durability and moisture resistance should take priority over appearance alone. Porcelain tile that mimics wood grain has become popular for covered patios since it withstands moisture without warping. Whatever material you choose, aim for a visual flow between rooms so the boundary between indoors and outdoors feels less abrupt.
- Choose moisture-resistant materials for semi-outdoor spaces
- Match flooring tone to interior rooms for visual continuity
- Consider slip resistance for areas near pools or hot tubs
- Ask about warranty coverage for engineered wood products in humid climates
Hiring Skilled Professionals for a Smooth Project
Even the best backyard design falls short without skilled installation, which is why hiring qualified professionals matters at every stage of the project. Whether you need a roofer for a covered structure, an electrician for outdoor lighting, or a landscaper for grading work, checking licenses, insurance, and references protects you from costly mistakes. Getting multiple quotes also helps you understand fair pricing for your specific project scope.
Clear communication about timeline, materials, and budget upfront prevents misunderstandings once work begins. Ask contractors about warranty coverage on both materials and labor, since backyard structures face constant exposure to weather. A little research before hiring pays off in fewer surprises and better long-term results.
- Verify licensing and insurance before signing any contract
- Request written estimates detailing materials and labor costs
- Ask for references or photos of similar completed projects
- Clarify warranty terms for both materials and workmanship
Turning your backyard into a true extension of your home takes thoughtful planning, but the payoff is a space you will actually use and enjoy for years to come. Start small if needed, tackling one element like a patio or deck before moving on to bigger additions such as covered structures or outdoor utilities. Whatever pace you choose, prioritizing quality materials and experienced professionals will help your investment last. Your ideal backyard is within reach once you break the project into manageable steps.